Lagario 3: Órbita · Physics guide
How gravity works in Lagario 3
Lagario 3 is a multiplayer gravity io game. Your planet carries momentum, and stars, black holes and big planets pull on it with inverse-square gravity, the same kind of pull that keeps real planets in orbit. This page explains how that physics works, first in plain words, then with the actual rules from the game's code. New to the game? Start with How to play.
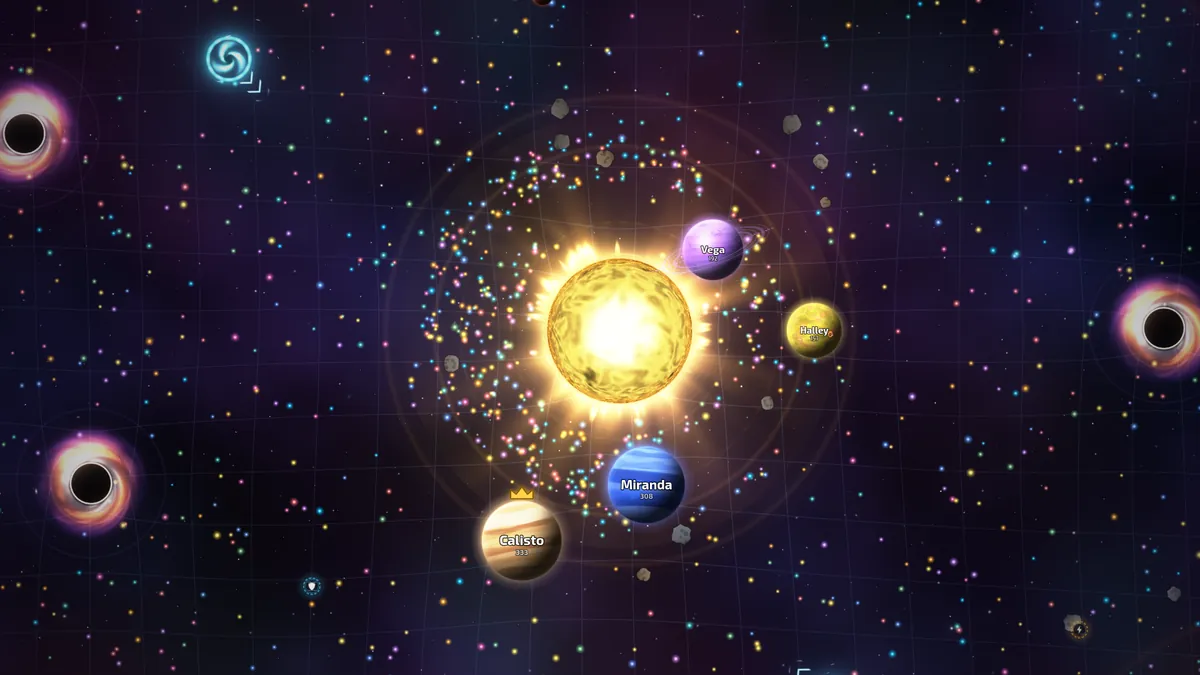
Momentum: your planet has an engine, not a leash
With Orbit physics, the mouse (or the joystick on a phone) doesn't drag your planet around. It tells your planet's engine where you want to go, and the engine keeps pushing your velocity towards that heading and speed. Aim somewhere else and your planet swings round gradually, drifting the way it was already going. Steering in Orbit responds half as fast as in the classic modes, so planets glide, swing wide and carry momentum.
Mass changes two things at once: a heavier planet has a lower top speed, and its engine responds more slowly. A giant has to start every turn early.
| Mass | Radius | Top speed (units/s) | Across a medium map | Steering response |
|---|---|---|---|---|
| 15 (new) | 39 | 324 | 22 s | 0.25 s |
| 100 | 100 | 205 | 34 s | 0.27 s |
| 1,000 | 316 | 118 | 59 s | 0.48 s |
| 10,000 | 1,000 | 68 | 103 s | 1.1 s |
“Steering response” is how long the engine takes to close about two-thirds of the gap between the velocity you have and the one you are asking for. The Thruster power-up raises your top speed 1.55× and makes steering 1.4× quicker for 8 seconds; the Turbo room modifier raises every planet's top speed 1.35×.
Inverse-square gravity: who pulls whom
Three kinds of bodies pull: stars, black holes and planets of 150 mass or more. The pull falls off with the square of the distance from the body's centre: twice as far away, a quarter of the pull; three times as far, a ninth. Inside a body it fades towards zero at the centre. Very weak pulls are ignored, which gives every body a reach: roughly 12 radii for a star (3,900 to 5,300 units), about 2,800 units for a black hole and about 10 radii for a planet.
| Distance from the centre | Pull, compared with the surface |
|---|---|
| 1 radius (the surface) | 100% |
| 1.5 radii | 44% |
| 2 radii | 25% |
| 3 radii | 11% |
| 4 radii | 6% |
| 8 radii | 1.6% |
The pull is matched to how hard you can push back
This is what keeps Orbit fair at every size. The pull you feel is scaled by the strength of your own engine. A planet of 1,000 mass feels only about a fifth of the pull that a brand-new planet feels, but its engine is only about a fifth as strong, too. So a given star or black hole is exactly as hard to fight at mass 15 as at mass 10,000. Growing doesn't make you easier to drag around: it makes you slower and later to turn.
- ~68%A star's pull at its surface, as a share of what your engine can push, at any size.
- 80%The most a star can ever pull, whatever the modifiers. Steering straight out always works.
- ~42%A big planet's pull at its own surface, as a share of your engine.
- 150The mass at which your planet starts to pull everyone else's.
| Body | Planets | Ejected mass and debris | Asteroids | Comets |
|---|---|---|---|---|
| Star | Yes | Yes | Yes: they orbit it | Yes, 1.5× harder than a new planet feels |
| Black hole | Yes | Yes | No | Yes: bends them and swallows those that pass too close |
| Planet of 150+ mass | Other players' planets | Yes, except its own | No | No |
Your own pieces never pull each other. Stardust, power-ups and wormholes aren't pulled at all, black holes drift without being pulled, and stars never move.
The trajectory line, and when it turns red
The dotted line ahead of your planet is a forecast. Your game replays the same movement rules the host uses for your biggest piece, assuming you keep aiming exactly where you are aiming now, and adds the pull of every star, black hole and 150+ mass planet your game can see. It looks between 1.4 and 4 seconds ahead: further for big, slow planets.
- It turns red from the point where the path would cross a star's burn line, the line where your planet starts to burn, and a small pulsing cross marks that spot.
- It stops once the predicted path is deep inside the star: there's nothing left to show.
- It changes as you steer, and other planets move, so treat it as a forecast rather than a promise.
- It only appears with Orbit physics. Turn it off with Settings → Show trajectory (Orbit).
Orbits: going all the way around
An orbit is what happens when your sideways speed balances the pull: you keep falling towards the star and keep missing it. The asteroid belts show it best. Every asteroid in Orbit starts at exactly the circular speed for its distance from the star, so the belts keep turning on their own. To orbit yourself, fly across the pull rather than into it, and ease your aim round as the star bends your path.
When the game counts an orbit
- It follows the angle that your planet's centre sweeps around the nearest star within about 3.5 star radii.
- Every full 360° turn the same way round shows Orbit complete! Going back and forth cancels out, and switching to another body starts the count again.
- If no star is that close, a planet with at least 3× your mass counts too, if you circle it within 4 of its radii: You orbited a giant planet!
- Orbits feed the orbit missions and the In orbit, Cosmic carousel (25 orbits) and Satellite achievements.
The rings are worth sweeping: 35% of new stardust settles in a ring between 1.45 and 2.75 star radii from the centre, and asteroids circle between 1.9 and 3.7 radii out.
The gravity slingshot
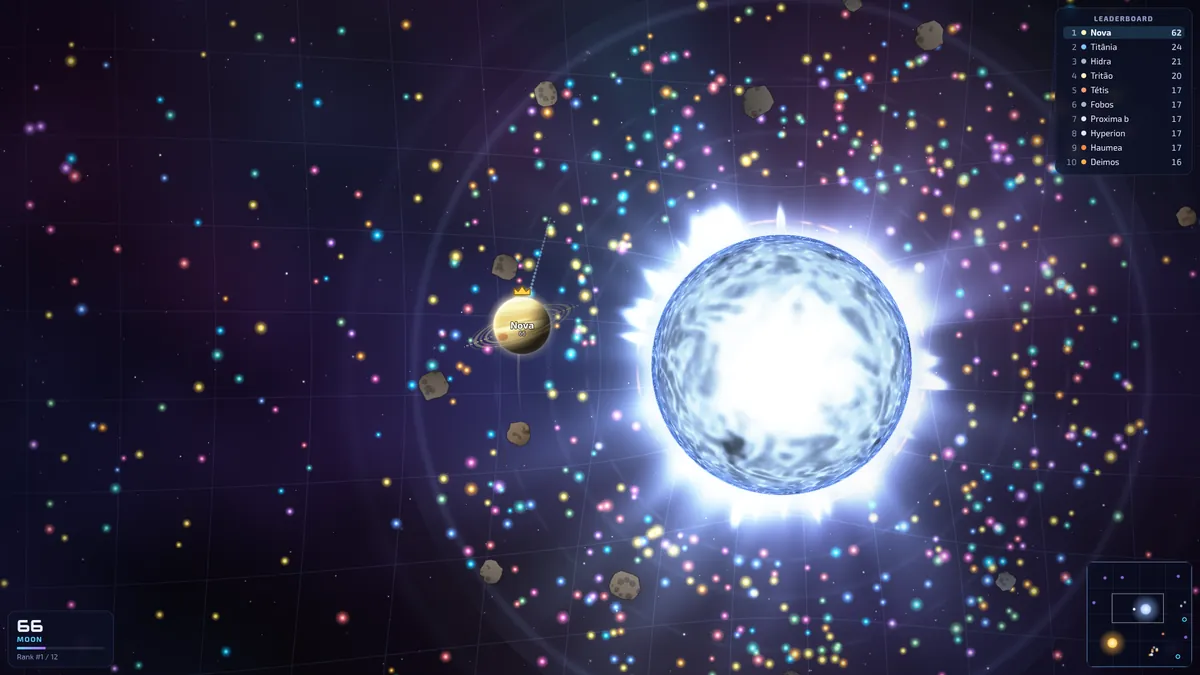
Fall towards a star and gravity speeds you up. Normally your engine would drag you straight back to your top speed. In Orbit there is one exception: extra speed in the direction you're steering fades nearly 7 times more slowly than usual, while any sideways drift is trimmed at the normal rate. So dive close, keep your aim ahead of your planet along its motion, and you ride that extra speed around the star.
- Falling in: the star's pull adds speed.
- The closest pass is the fastest moment, capped at 3.2× your top speed.
- Keep steering along your motion to hold on to the extra speed; the star pulls back as you climb away.
- The burn line: cross it and you start burning. Its size depends on yours.
- Aimed at the star, the trajectory turns red where it would cross the burn line.
- The cap: no planet can fly faster than 3.2× its current top speed (Thruster and Turbo included).
- The peak is at the closest pass. Climbing away, the star pulls against you, so pass close where you need the speed: to catch prey near the star, or to whip round it and escape in a new direction.
- The game measures it. Once gravity pushes you past 1.45× your top speed it tracks your peak, and when you drop back below 1.45× it shows Slingshot! N% of top speed, at most once every 4 seconds.
- Only gravity counts: the pass is only tracked while gravity is pulling you with at least 5% of your engine's strength, so a Thruster wearing off doesn't count.
- 1.45× is the goal of the tutorial's slingshot step, and reaching 2× earns the Gravity assist achievement.
Stars: burning and escaping
Every Orbit arena has fixed stars: 1 on a small map, 2 on a medium one, 3 on a large one. A star's radius is 320 to 430 units, against about 39 for a new planet. The colour (yellow, orange or blue-white) is only looks: every star has the same pull at its surface, and bigger stars reach further. A lone star tends to sit near the middle; several stars keep away from each other and from the walls.
When you start burning
You start to burn once your planet has sunk half its own radius into the star. A flickering dashed orange ring around each star shows that line for your current size. While you're in, you lose 30% of your mass per second plus 10 mass per second, and a piece that drops below 8 mass is gone. Left sitting there, a new planet lasts about half a second, a 100-mass planet about 4 seconds and a 1,000-mass planet about 11. A Shield cuts the burn to a quarter.
Escaping
Because the pull is matched to your engine, a star's surface pulls with about two-thirds of what you can push, at any size, and never more than 80% even with Double gravity. So pointing straight away from the star always climbs out, burning on the way. Ejecting mass gives an extra kick, which matters most for small planets (see thrust). The star's roar gets louder once your planet's edge is within about 1.4 star radii of its surface: that's your cue.
Stars also destroy whatever else falls in: ejected mass and collision debris, asteroids, comets and even black holes.
Planet collisions: bounce, jolt and debris
You can only swallow a planet if you have at least 25% more mass. With Orbit physics, two planets closer in size than that don't slide over each other: they collide. The bounce is partly elastic: they separate at 45% of the speed they hit with.
What breaks off depends on the jolt: the change of speed each planet takes in the hit, compared with its own top speed. A jolt of up to 0.9× your top speed does nothing. Beyond that, you lose 25% of your mass for each extra 1× of jolt, up to a maximum of 25% in one hit. In a crash, the lighter planet always takes the bigger jolt, so the heavier side comes off better.
| Speeds before the hit | Jolt (× top speed) | Mass each one loses |
|---|---|---|
| One at top speed, one standing still | about 0.73× | Nothing: they just bounce |
| Both at top speed | about 1.45× | about 14% |
| One slingshotting at 3.2×, one still | about 2.3× | 25% (the maximum) |
- Debris: lost mass flies off as chunks of 14 mass (up to 8 per planet per hit) plus a few specks of stardust. Anyone big enough can eat the chunks, except the planet they came from, which has to wait 1.5 seconds.
- Who rammed whom: the planet that was flying into the other harder gets the credit: Impact! Knocked off N mass. The one that lost mass sees Collision! You lost N mass (both for hits of 20 mass or more).
- No damage with a Shield. Teammates in Teams pass through each other, and a piece that has just split off can't collide for a moment.
- Knocking 100 mass off someone in a single hit earns the Head-on achievement.
Ejecting mass as thrust
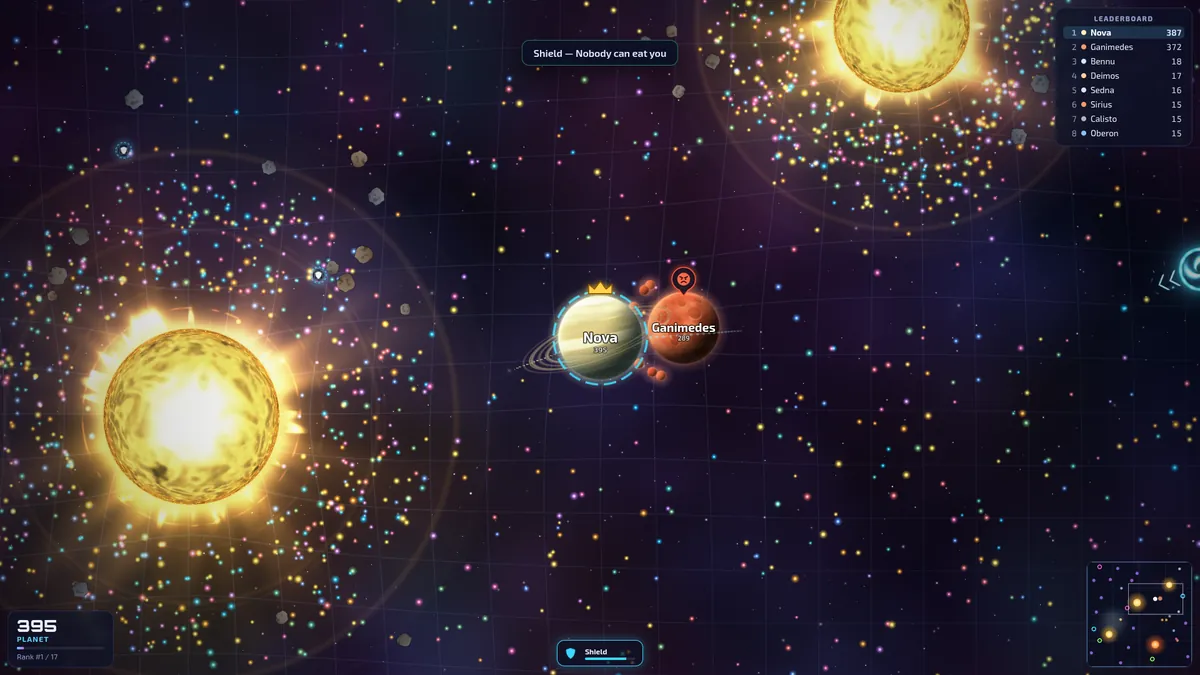
Eject throws a 14-mass blob forward from every piece of at least 35 mass, and each throw costs that piece 18 mass. Hold the key and it fires about 10 times a second. With Orbit physics, every throw pushes your planet the opposite way, like a rocket.
- The kick is momentum: the blob's mass times its speed, divided by your mass, capped at half your top speed. Up to about 130 mass every throw hits that cap; at 1,000 mass it's only about a tenth of your top speed.
- It fades within about a second, so hold eject for sustained thrust: out of a star, or to bend a trajectory that's turning red.
- Loose mass falls: in Orbit, ejected blobs glide further than in the classic modes and fall towards stars, black holes and other planets; the planet that threw them doesn't pull them back. Uneaten blobs turn into stardust after a minute.
Black holes, comets and wormholes
Black holes
A black hole starts at 110 mass. With Orbit physics it pulls like a body 2.2 times its visible size, as hard as a star at its strongest point. A planet can only swallow a black hole with at least 25% more mass than it (137.5 for a fresh one); anything smaller passes over it or hides inside it untouched. A planet that does swallow one is shredded: it gains half the black hole's mass, then 55% of its mass bursts outward in up to 9 pieces. A Shield prevents that.
Every blob of ejected mass a black hole swallows fills one of the 7 notches around it. On the seventh it resets and fires a new black hole in the direction of the shot, at 1,100 units per second (up to twice the map's usual number of black holes).
Comets
Comets of 45 to 95 mass enter from an edge at 520 to 740 units per second, heading across the middle of the map and dropping a speck of stardust every 0.07 seconds (up to 90). Stars pull them 1.5× as hard as a new planet feels, so they curve around stars; black holes bend them and swallow the ones that pass too close. Devour one (you need 25% more mass than the comet) for its mass plus a random power-up; a smaller planet it hits is shoved aside. A comet lasts at most a minute.
Wormholes
Wormholes come in linked pairs of the same colour, at least 35% of the map's width apart and clear of stars and black holes. A mouth takes 1.2 seconds to open, stays open for 70 to 110 seconds and flickers in its last 3. When the centre of any of your pieces dips into a mouth, your whole planet, every piece together, comes out of the other one still moving the same way. Then wormholes ignore you for 3 seconds.
How bots handle gravity
Bots follow the same physics as you, and each has its own skill level. In Orbit rooms they:
- Compensate for gravity: before steering, they ask the game what pull they would feel and aim against the drift it would add, and against their own sideways momentum. Sharper bots correct more.
- Keep clear of stars: each keeps a gap of 110 units plus 60% of its radius between its edge and a star's surface (more for less skilled bots), pushing away hard inside it. A bot that is already burning drops everything and heads straight out.
- Lead their prey: they aim where their target will be, up to 1.5 seconds ahead, instead of where it is.
- Don't split near stars: no split attack if the prey is close to a star.
- Ram: they charge rivals slightly smaller than themselves, heavier but not heavy enough to eat, to knock off chunks.
- Use black holes: big bots steer clear of black holes they could swallow; small bots being chased hide inside them.
Bots re-plan several times a second: about every 0.18 seconds for the sharpest, less often for the rest.
The warped background grid
With Orbit physics, the background grid sags towards heavy bodies, so you can spot a gravity well before you feel it. Stars bend it most, then black holes, then planets of 150+ mass, the same mass at which a planet starts to pull. The bend fades out by 7 radii from the body, and up to 16 wells are drawn at once. Around each star, three faint rings (at 1.5, 2.2 and 3.4 star radii) and slow ripples falling inwards mark the well; black holes have infalling ripples of their own.
The grid is a visual guide, not an exact map of the pull: use the trajectory line for that. Turn the grid off with Settings → Map grid.
Gravity in the other modes
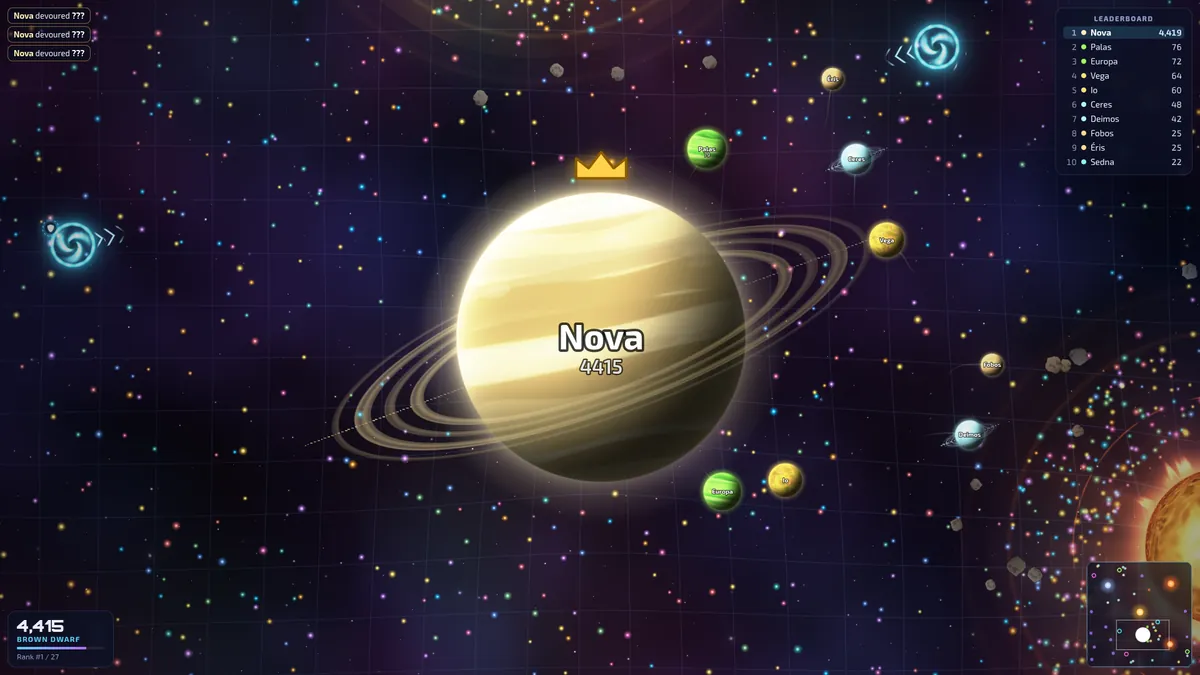
Free for all, Collapse, Teams and Gravity chaos use the classic physics unless the room has the Orbit physics modifier. There are no stars, planets respond twice as fast, there's no slingshot, same-size planets simply overlap, and ejecting doesn't push you. Gravity is simpler too: a planet of 60+ mass drags in nearby planets it could eat (within 3.2 of its radii plus 220 units), harder the bigger it is and the closer you are, and black holes pull everything within 5.5 of their radii.
- Gravity chaos makes planet pull 2.5× stronger and black-hole pull 1.6× stronger.
- Double gravity doubles planet pull in the classic physics. With Orbit physics it makes every pull 1.6× stronger, except that stars stay capped at 80% of your engine.
See Game modes and modifiers for everything else each mode changes.
For the curious: the rules in numbers
These are the formulas the host runs 30 times a second. Distances are in world units, speeds in units per second, and “mass” is the mass of one piece of your planet.
Movement
- Radius
- 10 × √mass
- Top speed
- 620 × mass−0.24
- Steering response
- ½ × (7 ÷ (1 + mass ÷ 700) + 1.3) per second in Orbit; the classic modes drop the ½.
- Engine strength
- steering response × top speed: how hard you can accelerate against a pull.
- Speed cap
- 3.2 × top speed. Extra speed along your heading fades at 0.15 × the steering response.
Gravity
- Pull outside a body
- g × (R ÷ d)² × (your engine ÷ a new planet's engine), where R is the body's radius and d your distance from its centre. Inside R it falls in a straight line to zero at the centre.
- Surface pull g
- Star 900; black hole 900, with R = 2.2 × its visible radius; planet of 150+ mass 560 (units/s², as felt by a new planet).
- Reach
- Pulls weaker than 6 units/s² are ignored.
- Double gravity
- g × 1.6, but a star never pulls more than 80% of your engine.
Stars, collisions and thrust
- Slingshot
- Tracked above 1.45 × top speed while gravity pulls with at least 5% of your engine; reported at its peak.
- Burning
- Starts when your centre is within the star's radius + half yours. Loss per second: 30% of mass + 10, a quarter of that with a Shield.
- Eat or collide
- Eat with at least 1.25 × the other's mass; below that, collide. Bounce: 45% of the closing speed.
- Collision loss
- mass × min(25%, (jolt ÷ top speed − 0.9) × 25%)
- Eject kick
- 14 × 900 ÷ mass, at most half your top speed. Each throw costs 18 mass.
Now go and feel it: dive past a star and watch the numbers climb.
Play now